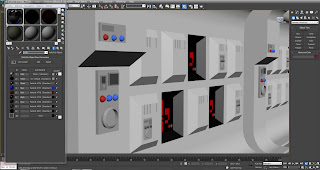
Same with the other models, I applied the material to the polygons but did some things different this time. I used a Multi/Sub object to store all the material for the walls, then changed the material ID for the selected polygons for the material I wanted. I found doing multiple materials for objects much more organise by using Multi/Sub object.
This material is a bitmap that represents a control panel on the wall. Before making the bitmap in Photoshop, I exported UVW map of the polygon where the control panel will be, so I could get the correct size, the reason I did this was because the bit map would stretch to fit the polygon, and would not be the correct size/ would look out of place.
Most of these materials are very basic and there is nothing really special about them, I will mainly talk about the important one, as I don’t want to go on and on about the same thing.
With the floor material I wanted a bit of reflection as seen in the star wars films. From test renders, that slight bit of reflecting help in noticing the light hitting the floor.
As there will be some low down camera angles, I put a dent bump map on the floor to add some detail. The bump map with the reflection creates a nice look to the scene. I find the mix of the plain walls and the dotted floor really works together.
I used a self illuminating material for the top part of the ceiling as that’s the light source, I gave the material a tint of yellow, as no lights are pure white.


No comments:
Post a Comment